
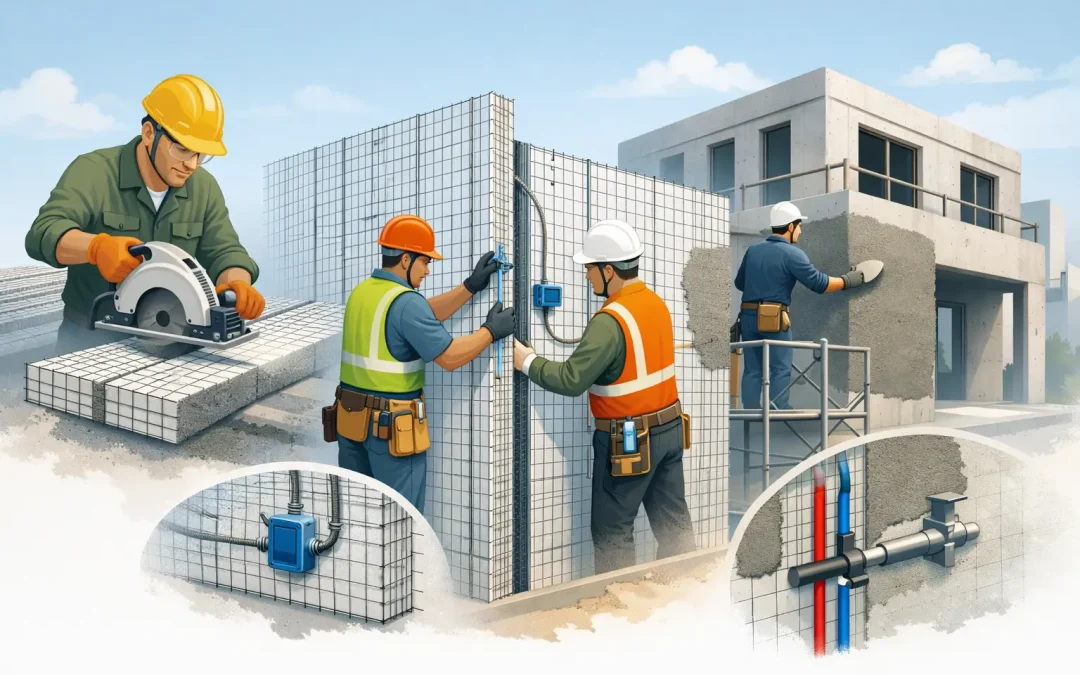
A wall system either helps the schedule or fights it. On SCIP projects, installation speed comes from discipline in the sequence, not from skipping steps. If you are evaluating how to install SCIP panels for a residential, commercial, or industrial build, the core principle is simple: treat the panel, connections, bracing, and mortar shell as one structural system.
That matters more now than it did a few years ago. After the LA Palisades fires and repeated seismic events across the Americas, many builders, engineers, and developers are rethinking wood framing in high-risk zones. SCIP construction is getting attention because it combines insulation, structure, and speed in a single assembly – but only when the installation is executed correctly in the field.
How to install SCIP panels: start with the structure, not the panel
The biggest installation mistake is assuming the panel itself solves everything. It does not. SCIP panels perform as designed when they are installed on a prepared foundation, aligned to the engineering set, properly tied at joints, and finished with the specified concrete mortar thickness.
Before any panel is stood up, verify slab dimensions, anchor locations, embedments, and level tolerances. If the slab is out of square or anchor placement is inconsistent, panel installation slows down immediately and crews start making field fixes that affect alignment. On a code-driven project, those small deviations can create larger issues at openings, roof connections, and load paths.
Material staging also matters. Panels should be organized by wall type, opening schedule, and sequence of erection. On a tight site, mixed staging creates double handling and damage to mesh edges. A clean sequence saves labor, especially where installers are coordinating wall panels, corners, partitions, and roof or floor panels as part of the same shell.
Panel layout and placement
Installation starts with layout lines. Mark wall lines, openings, corners, and control dimensions directly from the approved plans. This is not just a carpenter’s exercise. On SCIP buildings, layout accuracy affects connection quality, mortar cover, and final geometry.
Once lines are confirmed, the first panels are set at corners and key control points. Corners establish the building plane, so they need to be plumb, braced, and checked before infill panels are added. Each panel is then positioned according to the framing plan and tied to adjacent panels using the specified wire ties, mesh overlaps, and connection details.
At this stage, crews should resist the urge to move too fast. A panel can look straight by eye and still be off enough to create problems later. Use string lines, levels, and bracing to maintain plumb and alignment as the wall run develops. Good installers check constantly during erection, not after the entire elevation is standing.
Openings, corners, and intersections
Windows, doors, and intersecting walls require more attention than straight runs. Mesh reinforcement, trimming, and added steel are often required around openings depending on the engineering and local code requirements. If an installer cuts panel sections in the field without following the structural details, the assembly may lose capacity where it needs it most.
Corners and T-intersections should be tied tightly so the system acts as a continuous shell. Loose intersections weaken the diaphragm and create trouble when mortar is applied. If you want a fast project, this is where speed must be earned through precision.
Bracing is not optional
Temporary bracing holds the panel geometry until the structural skin is complete. That sounds obvious, yet bracing is one of the most underestimated parts of SCIP installation. Without adequate bracing, walls shift during alignment, openings move, and mortar application becomes inconsistent.
Brace panels as they are erected and adjust them until plumb is confirmed. Recheck after additional panels are tied in because cumulative movement happens. Bracing should remain in place until the mortar has cured sufficiently according to the project requirements and weather conditions.
This is one of the trade-offs compared with traditional framing. SCIP can reduce labor and shorten total build time, but only if the shell is managed as an engineered process. Improvised bracing may save a few minutes early and cost days later.
Mechanical, electrical, and plumbing coordination
One reason experienced teams like SCIP is that chases and openings can be integrated without the clutter of conventional framing cavities. But this only works when MEP coordination happens before mortar application.
Electrical conduits, boxes, plumbing routes, and other penetrations should be laid out from the coordinated drawings. Chases are typically cut into the EPS core while preserving the wire mesh and structural integrity required by the design. Any modifications to the mesh, especially around concentrated loads or structural openings, should follow engineered details.
This is where project leadership matters. If MEP trades arrive late or work from outdated drawings, they can damage installed panels and force rework. On high-performance buildings, the installation crew, superintendent, and design team need tight coordination before the wall skins are applied.
Applying mortar or concrete correctly
The structural performance of SCIP panels comes from the full assembly: steel mesh, EPS core, connectors, and the applied cementitious skin. Mortar application is not a finish step. It is a structural step.
Before spraying or applying mortar, inspect all ties, overlaps, reinforcements, and bracing. Confirm that the mesh is clean and properly tensioned, and that penetrations or added components are secured. The mix design, application method, and thickness should match the approved specifications and engineering.
Uniform coverage is critical. If the mortar is too thin, the system may not reach its intended capacity. If it is applied poorly or with inconsistent consolidation, cracking and weak spots can develop. This is why many serious builders prefer using dedicated mixing and application equipment rather than treating the process like general plaster work.
Curing and quality control
After application, curing conditions matter. Heat, wind, and low humidity can affect bond and surface performance, especially in hot-climate regions common across the southern U.S. and Caribbean. The panel shell should be protected and cured according to the material requirements.
Quality control should include thickness checks, alignment verification, and inspection of reinforced areas. On larger projects, documenting these checks protects both the builder and the owner. For insurance-conscious developers and engineers working in hurricane or seismic zones, installation records are part of the value story.
Roof and floor panel installation
When SCIP is used beyond walls, sequence becomes even more important. Floor and roof panels must be installed with proper bearing, temporary support where required, and connection details that transfer loads through the complete structure. Because these elements can act as diaphragms, poor installation affects the entire load path, not just one assembly.
Crews should verify lifting methods, support spacing, and reinforcement details before placement. Once panels are set, they need the same disciplined approach to tying, reinforcing, and applying the structural skin. The benefit is a highly insulated building envelope with fewer trade interfaces than conventional systems.
Common mistakes that slow down SCIP projects
Most failures in the field are not product failures. They are sequencing and training failures. Crews get in trouble when they install from habit instead of from system details.
The most common issues are poor slab prep, weak layout control, insufficient bracing, unapproved field cuts, late MEP coordination, and inconsistent mortar thickness. Another recurring problem is treating SCIP like a simple panelized product instead of a code-aligned structural system. Builders who understand that difference usually see the labor and schedule advantages quickly.
For teams entering the method for the first time, technical support and installation training can shorten the learning curve substantially. Structural Panels GCT approaches SCIP as a full building system for that reason. Panels, equipment, technical guidance, and sequence all need to work together in the field.
What good SCIP installation looks like
A well-installed SCIP project moves in a predictable rhythm. The slab is right, the layout is clean, the panels stand plumb, openings stay true, MEP is coordinated before skin application, and the mortar shell is applied to specification. When that happens, the result is not just a fast enclosure. It is a resilient assembly built for fire exposure, seismic demand, wind events, and long-term energy performance.
That is why SCIP is gaining ground as builders reconsider conventional wood systems after recent disasters. In high-risk markets, the installation process is not just about getting walls up. It is about delivering a structure that performs when the environment stops being forgiving.
If you are planning a SCIP build, the best next step is to look at installation through the lens of engineering, crew training, and sequencing together. That is where the system proves its value – not on paper, but on the jobsite where performance becomes real.